
Create a Forever Free Website with GitHub
The best and most reliable forever free hosting that you will find on the web. GitHub pages is the best there is!

Updated 3 July 2026: Google Domains shut down and sold its registrations to Squarespace in 2023, so I've swapped in registrars I'd actually use today. GitHub also renamed the default branch from "master" to "main", so the commit step now reflects that. Everything else still works exactly the same.
Struggling with all those free web hosts and other dodgy services? To put a simple static website online you don't need to jump through any hoops. A free GitHub account will host it for you with unlimited bandwidth and hosting you can actually rely on.
First, gather your website: any HTML, CSS, and JS files in a folder, ready to upload just like you would to any other host.
Next, buy a domain if you don't have one already. Cloudflare Registrar, Namecheap, and Porkbun are all solid and cheap. (Google Domains used to be my go-to, but it's gone now, so don't go looking for it.)
Setting up the website
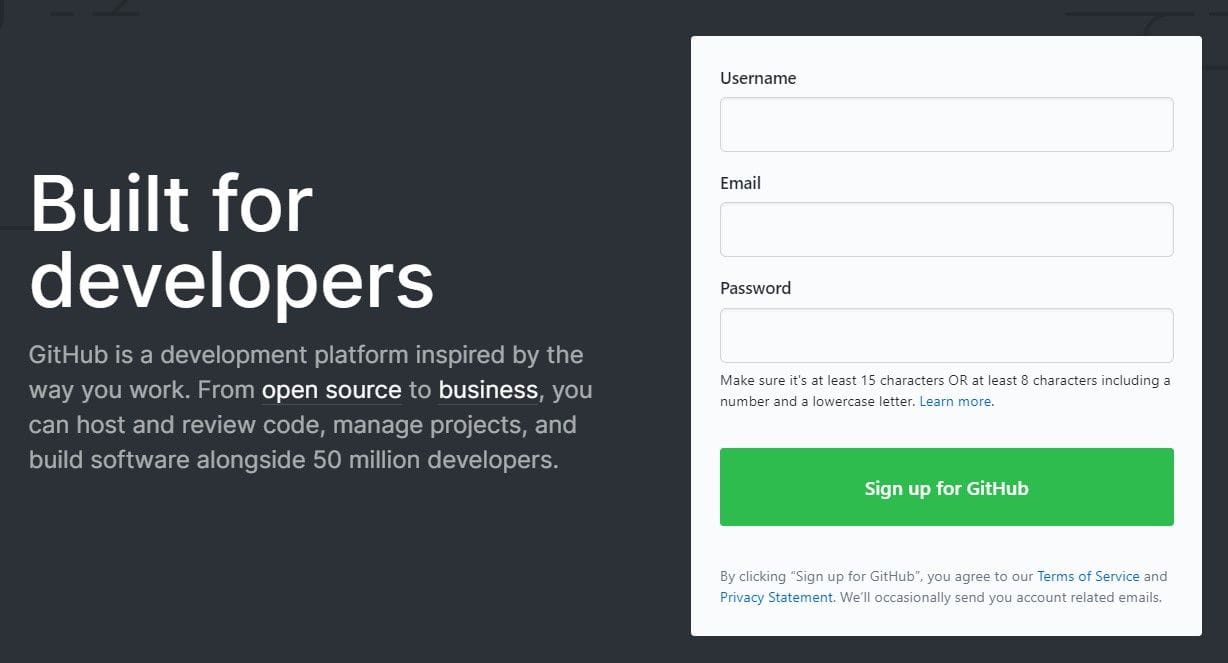
If you haven't already, make a GitHub account and download the GitHub Desktop client. Install it and open it. If you don't want a custom domain and just want a particular name, set that name as your GitHub "Username", because it becomes the subdomain for your free site.
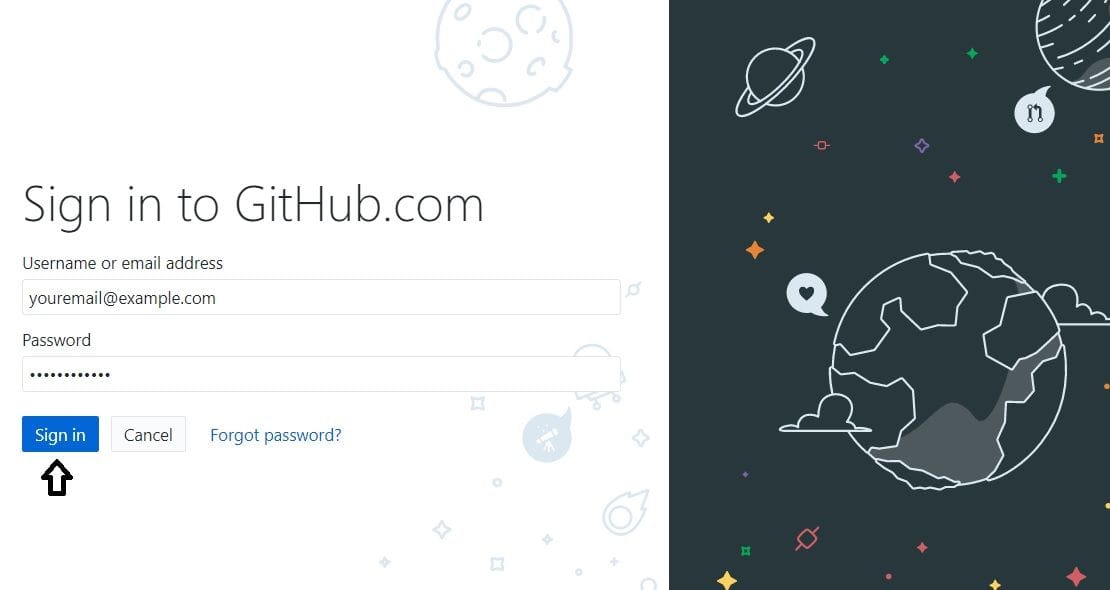
Once the client is open, sign in with your GitHub credentials. You can skip this for now, but you'll need to sign in before you can upload anything.
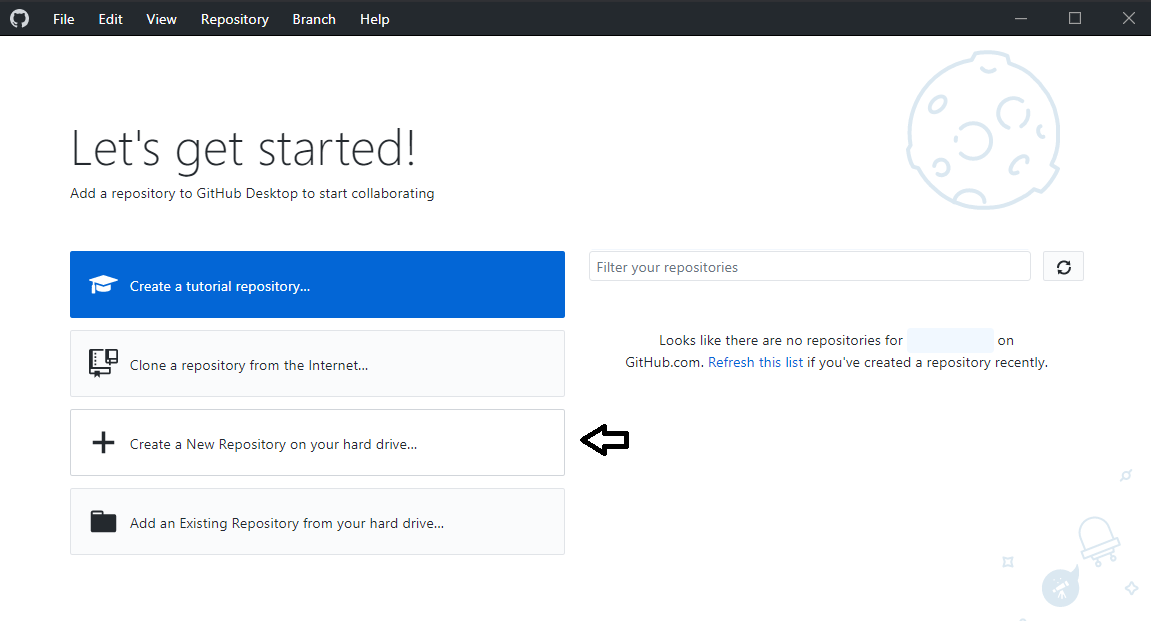
Now click "Create a New Repository on your hard drive", or press Ctrl+N.
Set the Name to:
username.github.io
Replace "username" with your GitHub username. The repository has to be named this exactly, because that's what turns on GitHub Pages and serves your files as a website.
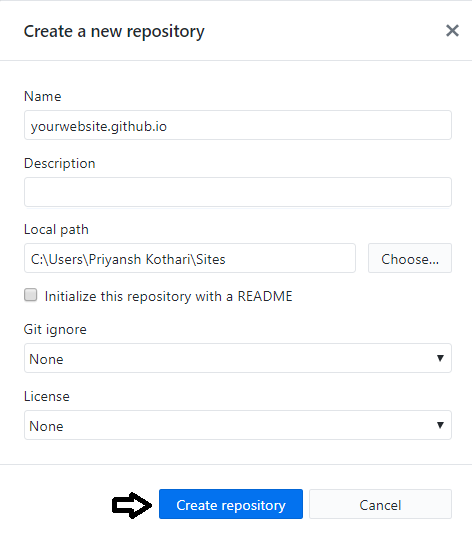
Copy all of your website files into the "username.github.io" folder inside your "Sites" (or Documents\GitHub) folder. Your GitHub client should now look like this:
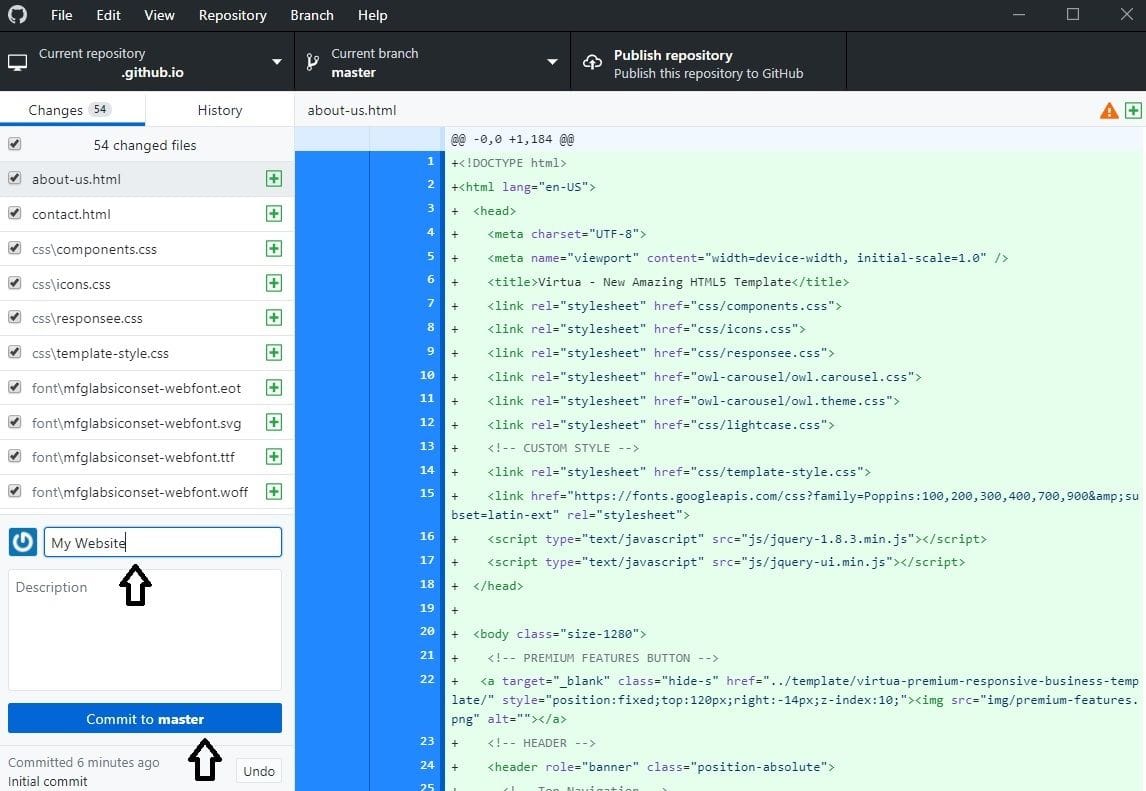
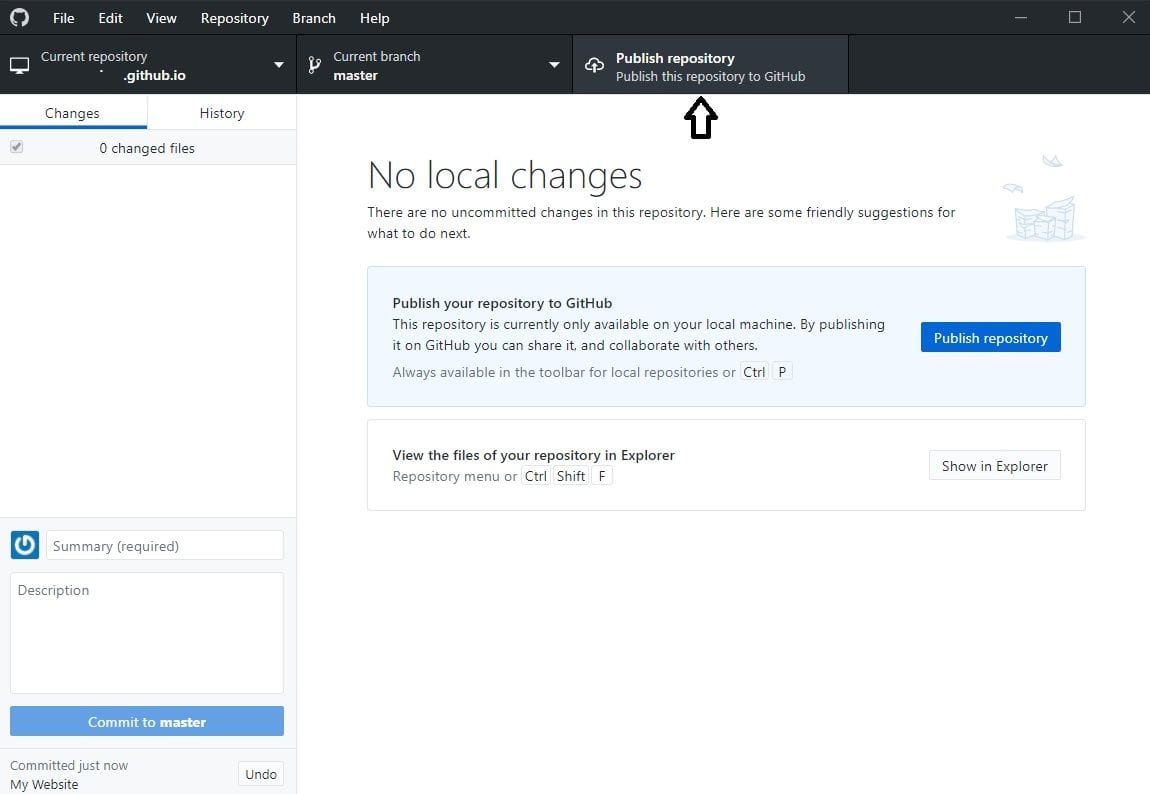
Fill in the "Summary" and click "Commit to main". Then click "Publish repository" to push your site up to GitHub.
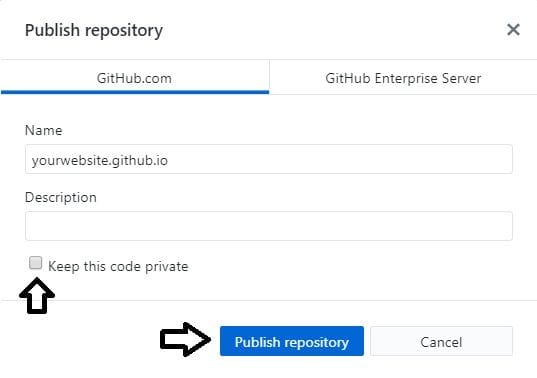
Add a "Description" if you like, to keep track of changes. The important part: uncheck "Keep this code private" so your site is publicly accessible.
That's it. Open "yourwebsite.github.io" in your browser and your new site is live.
Using a custom domain
To point your own domain at it, create a file called "CNAME" in the root of your repository, the same folder as your website files. Put your domain on separate lines:
Commit and publish again. Then, in your registrar's DNS settings, add these A records pointing at GitHub's servers:
| Type | Name | Content |
|---|---|---|
| A | @ | 185.199.108.153 |
| A | @ | 185.199.109.153 |
| A | @ | 185.199.110.153 |
| A | @ | 185.199.111.153 |
| CNAME | www | username.github.io |
DNS usually propagates in a few minutes, though GitHub can take an hour or two to issue the HTTPS certificate. While you're in the repo settings on GitHub, open the Pages tab and turn on "Enforce HTTPS" once the certificate is ready.
GitHub Pages only hosts static sites and simple interactive pages. If you need a real blog or an ecommerce store, I'd grab the Nanode plan at Linode (now Akamai Cloud). For about $5 a month you can run several sites with room to spare, and I walk through hosting Ghost that way in this guide.
Let me know if you need any help.